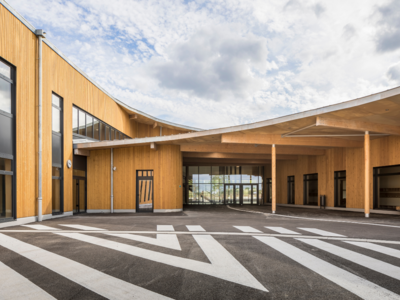
Vertical wood cladding is now one of the most popular types of siding for adding elegance and authenticity to facades. Combining technical performance and natural aesthetics, it provides long-lasting protection for walls while enhancing the charm of wood. In this comprehensive guide, discover how to install vertical wood cladding in accordance with best practices: choosing the right species, preparing the substrate, step-by-step installation, and professional tips to ensure a durable, ventilated, and harmonious installation.
Whether you are a craftsman, an experienced DIY enthusiast, or an architect, these practical tips from Sivalbp's experts will help you succeed in your project, from the first batten to the last finishing strip.
Key points to remember:
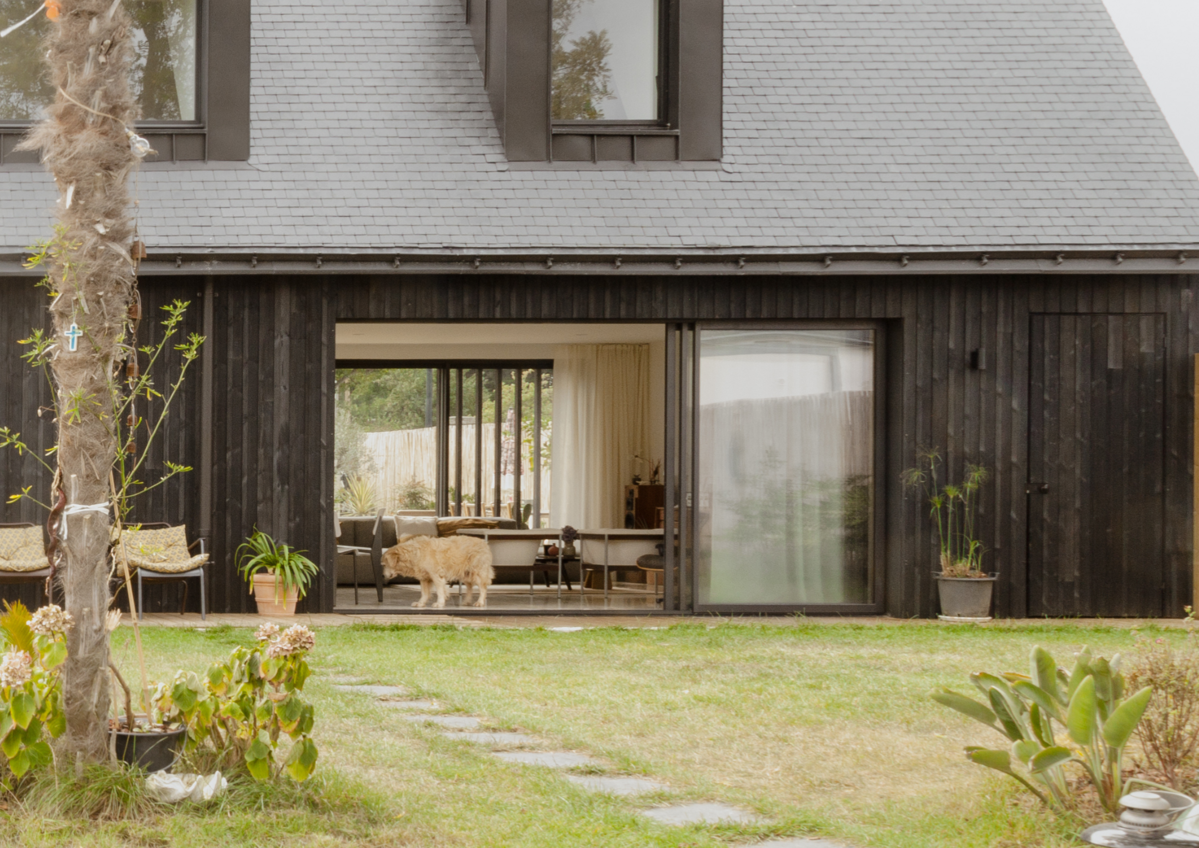
- Vertical wood cladding is a facade covering consisting of vertically installed wood boards, used to protect walls while adding an aesthetic and contemporary touch.
- It offers a modern look, excellent protection against the elements, and highlights the natural texture of the wood.
- Careful, ventilated installation is essential to prevent moisture and ensure the longevity of the cladding.
- The choice of wood and treatment (autoclave, oiled, or saturated) determines the durability and maintenance of the cladding.
- Following the key steps in the guide (framing, ventilation, alignment, finishing) ensures an installation that is attractive, resistant, and durable.